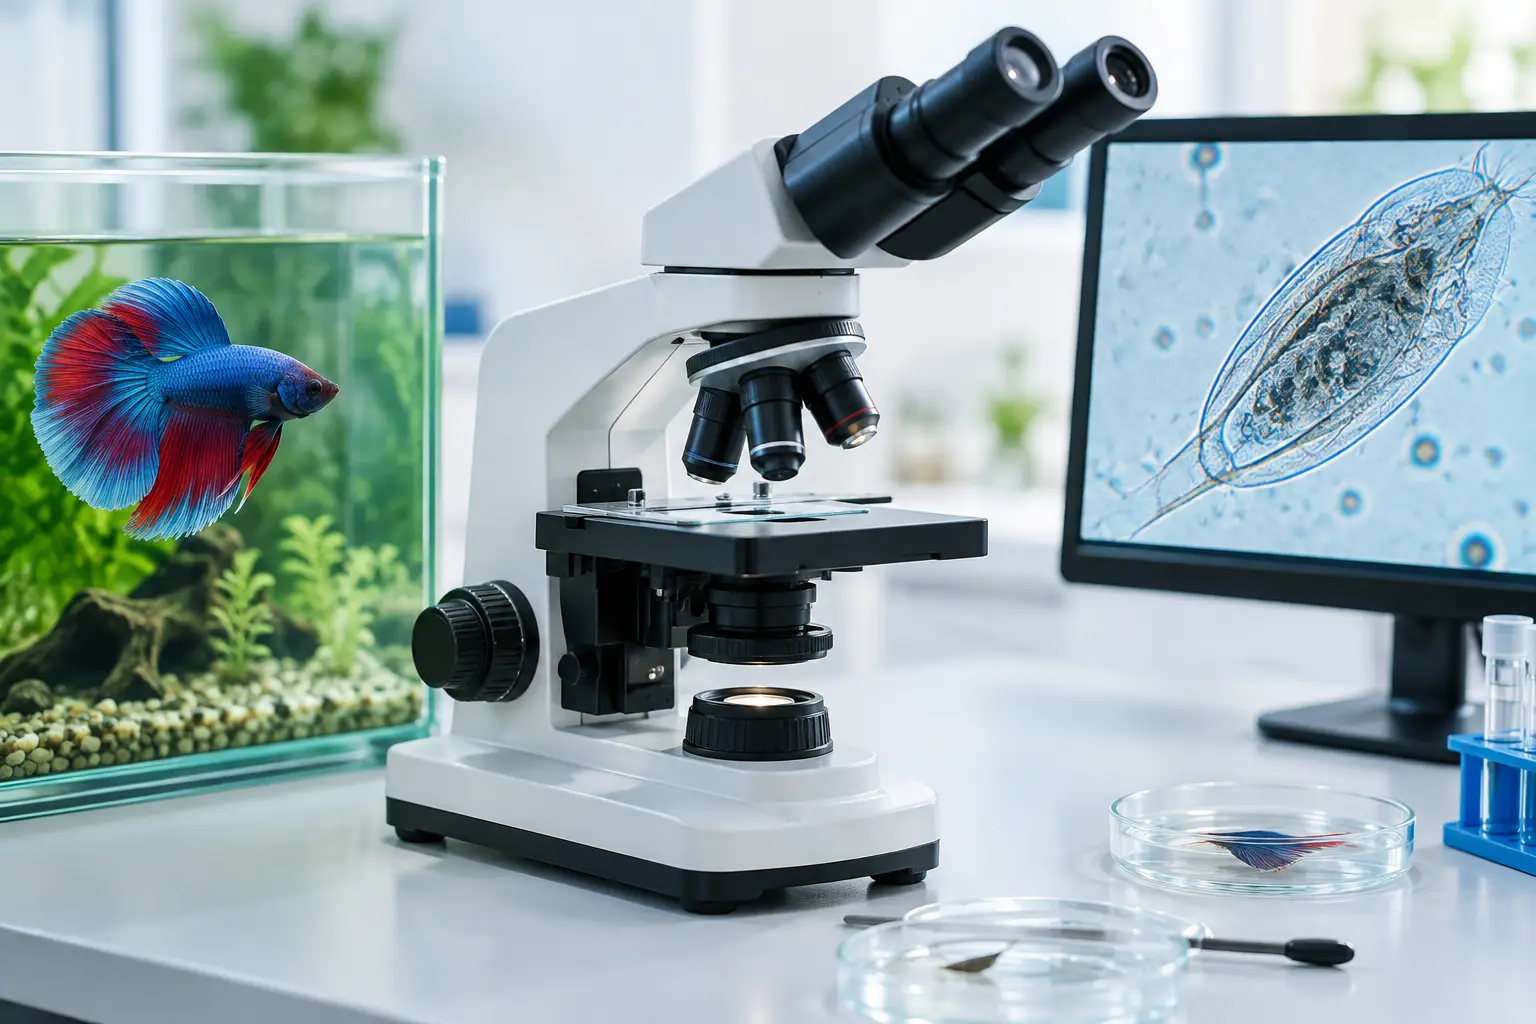
Digital Microscopy for Accurate Fish Diagnosis
A fish flashing against rocks, clamped fins, excess mucus, or unexplained shrimp losses can create pressure to treat quickly. But similar outward signs can have very different causes. Digital microscopy gives the serious fish keeper a direct view of what may be happening on the skin, gills, fins, or in the intestinal tract before medication is chosen.
For ornamental fish health, a microscope is not a replacement for careful observation, water testing, quarantine, or professional veterinary support. It is a practical diagnostic tool that can prevent one of the most costly mistakes in fishkeeping: treating a suspected disease that is not actually present.
Why digital microscopy changes fish disease diagnosis
Many common external parasites are too small to identify reliably with the naked eye. A fish with heavy mucus may have an ectoparasite, but it may also be reacting to poor water quality, handling damage, aggression, bacterial disease, or an unsuitable environment. The same problem applies to pale feces, frayed fins, rapid breathing, and skin discoloration.
A digital microscope allows you to observe a fresh sample on a screen, capture still images, and record short videos. This is especially useful when movement is part of identification. Some parasites glide, rotate, crawl, or attach in characteristic ways. A photograph may reveal structure, while a video can reveal behavior that makes the difference between a reasonable suspicion and a more confident diagnosis.
The benefit is not simply magnification. The benefit is being able to compare what you see with reliable disease photographs and descriptions, then connect that finding to the fish's signs, history, water conditions, and response to previous treatment.
What a digital microscope can reveal
Digital microscopy is most valuable for fresh wet-mount examinations. These are simple preparations in which a small sample is placed in a drop of aquarium water on a slide, covered gently, and examined immediately. Fresh samples preserve movement and delicate structures far better than dried material.
A skin or mucus scrape may reveal external protozoans, worms, or other organisms on the fish. A fin clipping can sometimes provide useful material when fins are damaged, although it must be done carefully and only when justified. A gill biopsy may reveal parasites or excessive mucus, but it is more invasive and should not be a casual procedure. It is best reserved for experienced keepers, professionals, or cases where the diagnostic value clearly outweighs the stress to the fish.
Fecal material can also be informative. It may show certain intestinal parasites, undigested food, or large numbers of organisms that warrant closer interpretation. Finding an organism does not automatically prove it is the cause of disease. Healthy fish can carry some organisms, and aquarium samples can contain debris, algae, rotifers, copepods, and harmless free-living life.
For shrimp keepers, microscopy can help examine molts, surface debris, feces, and tank material. However, shrimp health problems often involve water chemistry, mineral balance, acclimation, bacterial issues, or environmental stress that are not confirmed by a quick slide examination. The microscope should support the full investigation, not narrow it too soon.
A practical digital microscopy setup
A useful setup does not need to be a laboratory. It does need to produce a stable, clear image at appropriate magnification. A compound digital microscope is generally more useful for parasites and wet mounts than a simple handheld inspection camera. Handheld units can be helpful for eggs, larger worms, lesions, and surface detail, but they often lack the magnification, illumination, and fine focus needed for reliable parasite work.
For routine fish health checks, prepare a dedicated diagnostic kit with these essentials:
A compound microscope with digital imaging capability and 40x, 100x, and 400x total magnification options
Clean slides and cover slips, plus disposable pipettes or droppers
A fine scraper, blunt sampling tool, forceps, and small specimen containers
A notebook or digital record for images, dates, tank parameters, symptoms, and treatment history
Start at low magnification. Scan the entire cover-slip area before moving higher. This prevents a common error: focusing immediately at high power and missing larger parasites or the general pattern of mucus, debris, and tissue. At 40x to 100x total magnification, you can locate material and identify larger moving organisms. At 400x, fine details become much clearer.
Avoid using oil immersion objectives for ordinary wet mounts unless you have specific training and a reason to use them. For most aquarium diagnostic work, 400x is sufficient and far easier to manage.
How to take a useful wet mount
The quality of the sample determines the quality of the answer. A poorly collected sample can cause unnecessary stress to the fish and still show nothing useful.
First, observe the fish and aquarium before handling anything. Note which fish are affected, whether the problem is spreading, where the fish are rubbing or breathing heavily, and whether there are visible spots, ulcers, fin damage, or excess mucus. Test water parameters appropriate to the species and check recent changes in temperature, filtration, stocking, feeding, new livestock, and medications.
When a skin scrape is appropriate, use a clean slide edge or suitable blunt tool to collect a minimal amount of mucus from the affected area. Do not scrape deeply. Place the material in a small drop of aquarium water, lower the cover slip at an angle to reduce air bubbles, and examine it promptly.
For the clearest image, keep the preparation thin. A thick mass of mucus, scales, or debris blocks light and makes identification difficult. If the sample is too dense, make a second slide rather than pressing hard on the cover slip and crushing everything underneath.
With digital microscopy, capture several images rather than relying on a single attractive frame. Record the magnification, fish species, body location sampled, date, tank number, and visible symptoms. A brief video is particularly valuable when an organism is moving. These records make later comparison far more reliable and can show whether the same finding persists after changes in management or treatment.
Do not mistake every organism for a pathogen
This is where diagnostic discipline matters most. Aquarium water is biologically active. A slide can contain organisms from the water column, biofilm, plants, food, or detritus. A single unidentified creature on a sample does not always explain a fish's illness.
Ask practical questions. Is the organism attached to tissue or moving freely through debris? Is it present in repeated samples from affected fish? Does its shape and movement fit a known parasite? Are the clinical signs consistent with what that parasite normally causes? Are multiple fish affected in a way that suggests transmission?
The same caution applies when no parasite is found. A negative scrape does not prove the fish is healthy. The sample may have come from the wrong area, the parasite burden may be low, the organism may be deeper in the gills or tissue, or the real issue may be bacterial, viral, nutritional, toxic, or environmental.
Digital images are useful because they slow down the decision. Instead of treating based on a rushed impression, you can review the image, compare it with trusted visual references, and seek a second opinion when the finding is uncertain.
Match the microscope finding to the whole case
Correct diagnosis is built from evidence, not magnification alone. A useful case record combines microscope findings with water quality, fish behavior, body condition, visible lesions, tank history, and mortality pattern.
For example, rapid respiration with a suspicious gill finding deserves attention, but ammonia or nitrite exposure can produce severe respiratory distress without a parasite being the primary cause. Likewise, white specks on a fish may suggest a familiar parasite, yet salt-like spots can also be confused with mucus, tissue changes, or other skin conditions. The microscope can clarify the picture, but only when the sample and the clinical signs agree.
This approach also protects the aquarium from unnecessary medication. Broad treatment can stress fish, disrupt biological filtration, harm invertebrates, and delay correction of the true cause. When treatment is necessary, the best result comes from knowing what you are treating, treating the correct system or quarantine tank, and following a course appropriate to the diagnosis.
Gerald Bassleer Books is built around this practical diagnostic principle: visible signs must be interpreted carefully, with clear images and treatment guidance that help keepers move from suspicion to an informed decision.
Make microscopy part of routine health management
A microscope is most useful before an emergency becomes a crisis. Examine a healthy-looking fish occasionally when you are learning the technique. Practice focusing, recognizing ordinary mucus and debris, and recording what you see. That experience makes abnormal findings easier to recognize when fish begin flashing, losing condition, or breathing abnormally.
Use digital microscopy as a disciplined checkpoint: observe first, test water, sample carefully, document the finding, and compare it with the complete clinical picture. When the slide does not provide a clear answer, do not force one. Better records, a repeat sample, isolation, and timely professional help are often safer than a guess.
The goal is not to find something moving on every slide. The goal is to make the next decision for your fish or shrimp with better evidence than appearance alone.


Opmerkingen